Ceramic coating is the rage for protecting the paint on your car, boat, or even your recreational vehicles.
Even a brand-new car from the dealership will have some occasional defects. Once your coating is applied nano particle adhesion will start and form a bond. This could be difficult to remove if a blemish is not taken care of.
Let’s go through the steps on how to prepare your car for ceramic coating and achieve long-term protection.
Steps to prepare your car for ceramic coating…
Step 1: Visual Inspection
The first step is a complete inspection of your car’s entire surface area.
This evaluates the condition where the ceramic coating will be applied. Looking at the surface of your car is done under the best lighting possible. What you see inside the panels is not always what you see outside (and vice versa), so a good inspection includes a look into both.
Depending on the condition of the paint, grade assessments are made on paint correction levels. On a scale, 1 is labeled as the least amount of correction and 3 is the more aggressive way to achieve the proper finish for sealing with a ceramic coating.
During this stage, imperfections are marked using a small piece of tape to give a better degree of your car’s ceramic coating area.
Step 2: Washing Your Car
For most auto enthusiasts, washing your car is the most important task in a ceramic coating project.
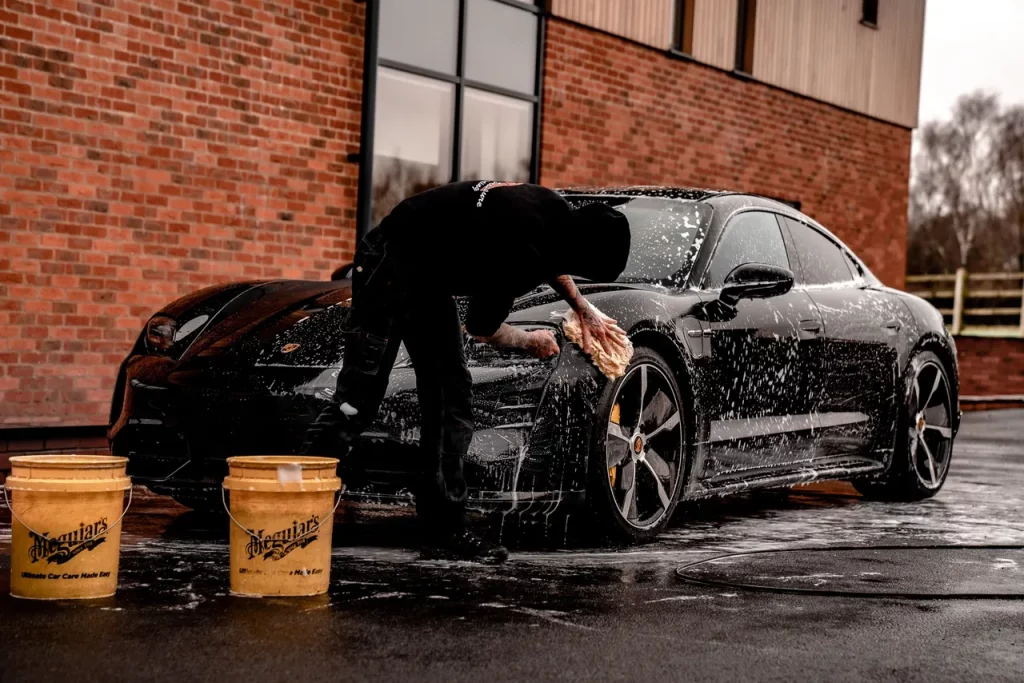
At Glosswerxs we wash your vehicle by hand. This is known as the two-bucket washing method: one wash bucket contains soap and the other is filled with clean water.

How Glosswerxs auto experts wash our customer cars
Environmental elements bring all types of contaminants to your car’s paint surface – everything from hard water stains, animal markings, brake dust (which is especially harmful on white-colored cars), and harmful road tar and paint.
- To remove any organic fallout, we use an iron out remover after the car’s initial wash. This is applied while the car is still damp and out of direct sunlight. Nearly any brand works – we spray it on, let it sit for 5 to 10 minutes (depending on what we are trying to remove), and then rinse it off. This method leaves the area completely clean and ready for paint correction.
- When removing solvents like road paint and tar, we first use an iron out method. We determine whether this breaks down any of the harmful particulates before using a low-grade solvent base. We are extremely careful when doing this and stay away from areas that don’t contain a clear coat protection to avoid damaging the car.
- Last step is the final wash where we use a foam cannon and completely soak the car. We use a clay bar on each panel before a final rinse. Afterwards, we dry the car with a clean edgeless towel and use compressed air to remove all the water in every spot, including the headlights, side mirrors, rear tail lights, and rear hatch areas. This ensures there is no run-off water while applying the ceramic coating.
Step 3: Paint Correction
In this stage we remove any swirl markings, stains, and environmental elements. Since this stage is extremely important to avoid damaging the car’s clear coat, we pay special attention and extra caution here.
We watch the edges to avoid burning them and use tape to prevent compounds getting into any non-clear coat areas. With all the available compounds and pads available, we utilize over forty different combinations to achieve the desired look.
Different Levels of Paint Correction
A two stage paint correction removes any swirls and light marrings. A three stage paint correction includes some light wet-sanding of the clear coat.
Since a three stage should only be done by a professional, we recommend this as a last resort. Removing the clear coat lessens its durability to the finish. At Glosswerxs, we weigh the pros and cons to wet sanding. If we have to remove sufficient enough clear coat to remove scratches.
Step 4: Final Wipe Down
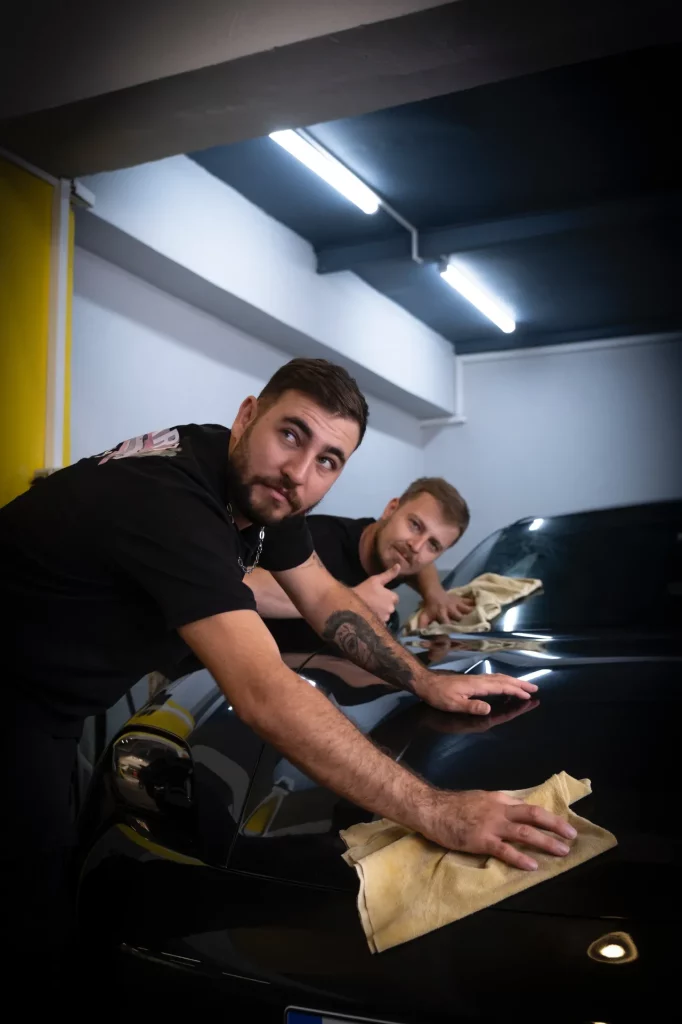
In this process, we remove any oils and compound dust that was created at the paint correction stage. There are many solutions on the market that will do this.
We also use a combination of denatured alcohol and water in a spray bottle to apply and wipe down the car with an edgeless towel.

Let a trusted professional complete your ceramic coating project
Here at Glosswerxs, we are committed to following strict guidelines to provide the best ceramic coating service in northern Illinois. We will have your car in showroom-like condition in no time.
For special service on your car detailing needs, call us at (630) 803-5657 – we work diligently to prep the surface of the vehicle before applying ceramic coating.
When it comes to protecting your car’s value, an expert car detailer can pay for itself. At Glosswerxs, we strive for the best results and outstanding customer satisfaction.
For faster service, book your car detail now.
